


Showing posts with label WASHROOM. Show all posts
Showing posts with label WASHROOM. Show all posts
Oct 28, 2013
 |
| AFTER: The perfect ocean-themed paradise is complete! |
From Andrée:
For months now I have been absolutely repulsed by my master bathroom. It was installed over 6 years ago, and since then, not very much had changed. The paint, a matte yellow, was peeling and scuffed. The shower curtain and bath mat were very dated, and there was a huge lack of overall charm.
Since the bones and fixtures of the space are fairly new, all this bathroom really needed was a quick face lift. Here's what I did...
1. The Inspiration Shop
First I went shopping for a little inspiration. I knew I wanted to paint the space blue, and give it a beach theme. I found a fabulous grey and blue curtain, and some coral/orange accents that helped me nail down a paint color.


2. SEMI-GLOSS PAINT (Don't forget the ceiling!)
I began painting using the seashore semi-gloss paint I had selected. I chose semi-gloss over eggshell because it's the most durable bathroom paint (constant moisture and all).
In order to expand the space, I decided to paint the ceiling the same color. By bringing the color up, the bathroom now looks dramatically bigger. I still can't believe this trick actually works!

3. DECORATE
Since Milo and I had selected some great accent colors and sea-themed items, it was simply a matter of playing around with what was purchased.
 |
| BEFORE |
 |
| AFTER |
4. D.I.Y. ARTWORK
For art in the space I first used some blank canvases and painted some beach themed pieces (see the right wall below). While it may look daunting, it was simply a matter layering the right colors over the canvas as many times as I felt necessary. I used acrylic paint; once dry, I covered the whole thing in clear Mod Podge with a large brush to seal it.
For art in the space I first used some blank canvases and painted some beach themed pieces (see the right wall below). While it may look daunting, it was simply a matter layering the right colors over the canvas as many times as I felt necessary. I used acrylic paint; once dry, I covered the whole thing in clear Mod Podge with a large brush to seal it.
Click here for the full guide on how to paint the canvases.

BEFORE
 |
| AFTER |


To save them for printing in your own bathroom, click on the image you want and then right click, and select "Save image as".
 |
| BEFORE |
 |
| AFTER: It's always nice for the men to have something to look at while they stand there!
For my little "Life is a beach" sign, I used a small piece of
plywood from an old crate, some white and gray acrylic paint, and a fine
brush. When I was done, I covered the whole thing in clear Mod Podge
to seal it, and used a hot glue gun to apply the star fish and coral
accents.
Click here for the full guide on how to make the "Life is a beach" sign.
|
 |
| BEFORE |
 |
| AFTER |


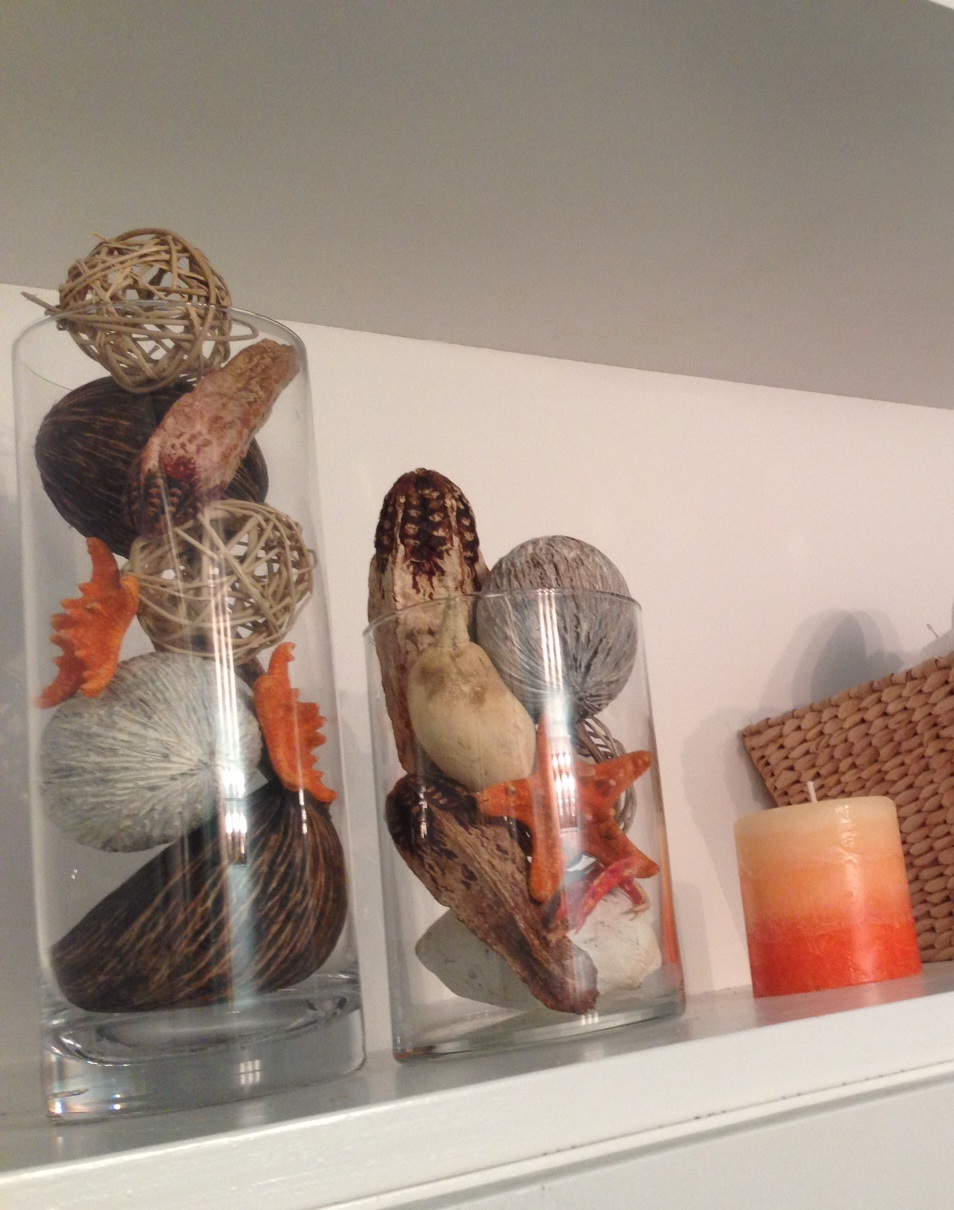
There you have it! My cheap, quick and easy bathroom makeover. Seriously, this took me less than two days, and less than $200!
- Andrée
Dec 21, 2012

At all of our Home and Garden Events, we like to have staged rooms to inspire others with new ideas. This room in particular was from our model home in last years Edmonton Home and Garden Show. While it was designed beautifully, today we're asking you for your decorating advice. So, what's your favorite countertop option? There are no wrong answers!
Our Answer
Nov 19, 2012
Everybody loves to dream about a nice relaxing space. And while people traditionally tend to focus on larger spaces like living rooms and bedrooms, it's important not to forget about the bathroom. So, below are some dream oasis's to dream about!
5 Bathrooms to Dream About

Image via Casa Haus
Subscribe to:
Posts (Atom)
Popular Posts
-
 I recently discovered the coolest website EVER! Wordle.net generates free and customizable subway art in as quickly as 1 minute. Sim...
 -
 Tweet Thanksgiving and holiday entertaining is in full swing! We know you're all preoccupied planning meals and getting the ho...
 -
 It's gift giving season! As you prepare your list, consider making a few of your gifts this year. Impress your friends and family w...
 -
 Calling all bloggers, designers, and entertaining enthusiasts: we're searching for the next big name in design, entertainment, and all t...